Day 24 Task: Complete Jenkins CI/CD Project🚀
Task 01: Seamless Integration and GitHub Automation
- Forking the Repository 🍴
- GitHub Integration with Jenkins 🔗
- Unraveling the Magic of GitHub WebHooks 🪄
- CICD Setup: A Crucial Foundation 🏗️
Task 02: Docker Compose Mastery
- Crafting the Docker Compose File 🐳
- Executing the Application with Docker Compose 🚢
- A Treat for Success: Running Your Project 🎉
**Introduction**
Hey DevOps champs! Today, we're diving into the heart of CI/CD using Jenkins and spicing things up with Docker magic. Task 01 involves GitHub integration wizardry, while Task 02 is all about crafting Docker Compose magic. Fasten your seatbelts for a journey filled with forks, hooks, and Docker treats! Let's make our projects shine! ✨
Task 01: Seamless Integration and GitHub Automation
In our comprehensive DevOps project, we're harnessing the power of various tools to streamline our development and ensure the quality and security of our code. Let's take a closer look at the key tools that play crucial roles in our project:
JDK (Java Development Kit) ☕:
- The JDK is the backbone of our Java-based application development. It provides the necessary tools, executables, and binaries to compile, debug, and run Java applications.
Jenkins 🚀:
- Jenkins acts as the orchestrator of our CI/CD pipeline. It automates the building, testing, and deployment of our code, ensuring a smooth and efficient development lifecycle.
Docker 🐳:
- Docker revolutionizes the way we package and deploy applications. It allows us to containerize our application, ensuring consistency across different environments and simplifying the deployment process.
SonarQube 🔍:
- SonarQube is our code quality and static code analysis tool. It helps us identify and fix code quality issues early in the development process, ensuring a robust and maintainable codebase.
Trivy 🕵️♂️:
- Trivy steps in as our security scanner for container images. It detects and reports vulnerabilities in our Docker images, allowing us to address security concerns and maintain a secure containerized environment.
OWASP 🔐:
- OWASP provides a set of tools and resources to enhance the security of our web applications. It guides us in implementing best practices and mitigating common security risks, fostering a secure development environment.
Docker Compose 🤖:
- Docker Compose is an essential tool for defining and managing multi-container Docker applications. It enables us to describe our application's services, networks, and volumes in a single file, simplifying the deployment and scaling of our Dockerized application.
Certainly! Here are the steps to create an EC2 instance using the t2.large type:
Navigate to AWS Console:
Go to AWS Management Console
Access EC2 Dashboard:
- From the AWS Console, navigate to the EC2 dashboard.
Click on "Launch Instance":
- Select the "Launch Instance" button to start the instance creation process.
Choose Amazon Machine Image (AMI):
- Select an AMI that suits your application requirements.
Select Instance Type:
- Choose the "t2.large" instance type from the list of available types.
Configure Instance Details:
- Customize the instance settings, including network configurations, security groups, and other details.
Add Storage:
- Specify the storage requirements for your instance.
Configure Security Group:
- Set up security rules to control inbound and outbound traffic to the instance.
Review and Launch:
- Review your configuration settings and click "Launch" to initiate the process.
Select Key Pair:
- Choose an existing key pair or create a new one to securely access the instance.
Launch Instance:
- Confirm your selections and click "Launch Instances" to create the EC2 instance.
Monitor Launch Status:
- Monitor the launch status on the dashboard until the instance state becomes "running."
Congratulations! You have successfully created an EC2 instance using the t2.large type. You can now access and manage your instance as needed.
Installation of Java
Jenkins requires Java to run, yet not all Linux distributions include Java by default. Additionally, not all Java versions are compatible with Jenkins.
sudo apt update
sudo apt install fontconfig openjdk-17-jre
java -version
Debian/Ubuntu
On Debian and Debian-based distributions like Ubuntu you can install Jenkins through apt.
With the release of Debian 12, OpenJDK 11 is no longer included. It has been replaced with OpenJDK 17, which is reflected in the instructions below. |
Long Term Support release
A LTS (Long-Term Support) release is chosen every 12 weeks from the stream of regular releases as the stable release for that time period. It can be installed from the debian-stable apt repository.
sudo wget -O /usr/share/keyrings/jenkins-keyring.asc \
  https://pkg.jenkins.io/debian-stable/jenkins.io-2023.key
echo deb [signed-by=/usr/share/keyrings/jenkins-keyring.asc] \
  https://pkg.jenkins.io/debian-stable binary/ | sudo tee \
  /etc/apt/sources.list.d/jenkins.list > /dev/null
sudo apt-get update
sudo apt-get install jenkins
Let's break down and explain each command:
Commands Explanation:
Download Jenkins Key:
 sudo wget -O /usr/share/keyrings/jenkins-keyring.asc \
   https://pkg.jenkins.io/debian-stable/jenkins.io-2023.key
sudo wget: Use superuser privileges to download.-O /usr/share/keyrings/jenkins-keyring.asc: Save the downloaded file asjenkins-keyring.ascin the specified directory.https://pkg.jenkins.io/debian-stable/jenkins.io-2023.key: Download the Jenkins GPG key.
Add Jenkins Repository to APT Sources:
 echo deb [signed-by=/usr/share/keyrings/jenkins-keyring.asc] \
   https://pkg.jenkins.io/debian-stable binary/ | sudo tee \
   /etc/apt/sources.list.d/jenkins.list > /dev/null
echo deb ... binary/: Echo the Jenkins repository information.[signed-by=/usr/share/keyrings/jenkins-keyring.asc]: Specify the GPG key for package verification.sudo tee /etc/apt/sources.list.d/jenkins.list > /dev/null: Write the echoed content tojenkins.listin the specified directory./dev/null: Discard any output from theteecommand.
Update APT Package List:
sudo apt-get updatesudo apt-get update: Update the local package list using APT.
Install Jenkins:
sudo apt-get install jenkinssudo apt-get install jenkins: Use APT to install the Jenkins package.
Start Jenkins
You can enable the Jenkins service to start at boot with the command:
sudo systemctl enable jenkins
You can start the Jenkins service with the command:
sudo systemctl start jenkins
You can check the status of the Jenkins service using the command:
sudo systemctl status jenkins
If everything has been set up correctly, you should see an output like this:
Loaded: loaded (/lib/systemd/system/jenkins.service; enabled; vendor preset: enabled)
Active: active (running) since Tue 2018-11-13 16:19:01 +03; 4min 57s ago
If you have a firewall installed, you must add Jenkins as an exception. You must change |
Access AWS Console:
- Log in to the AWS Management Console.
Navigate to EC2 Dashboard:
- Open the EC2 Dashboard.
Select Instance:
- Choose the specific EC2 instance for which you want to modify security group settings.
Navigate to Security Groups:
- In the instance details, go to the "Security" tab and click on the linked security group.
Edit Inbound Rules:
- Inside the security group details, locate the "Inbound rules" tab.
Add 8080 Port:
Click on "Edit inbound rules" or similar.
Add a new rule allowing inbound traffic on port 8080.
Save the changes.
These steps guide you through modifying the inbound rules of an AWS EC2 instance by adding port 8080 to the security group. This ensures that the specified port is open to incoming traffic, facilitating the accessibility of services running on that port.
View IPv4 Public IP:
- In the instance details, find the "IPv4 Public IP" field.
Access Jenkins with IPv4 and Port 8080:
Open a web browser.
Enter the IPv4 Public IP followed by
:8080in the address bar (e.g.,http://your-ipv4-public-ip:8080).
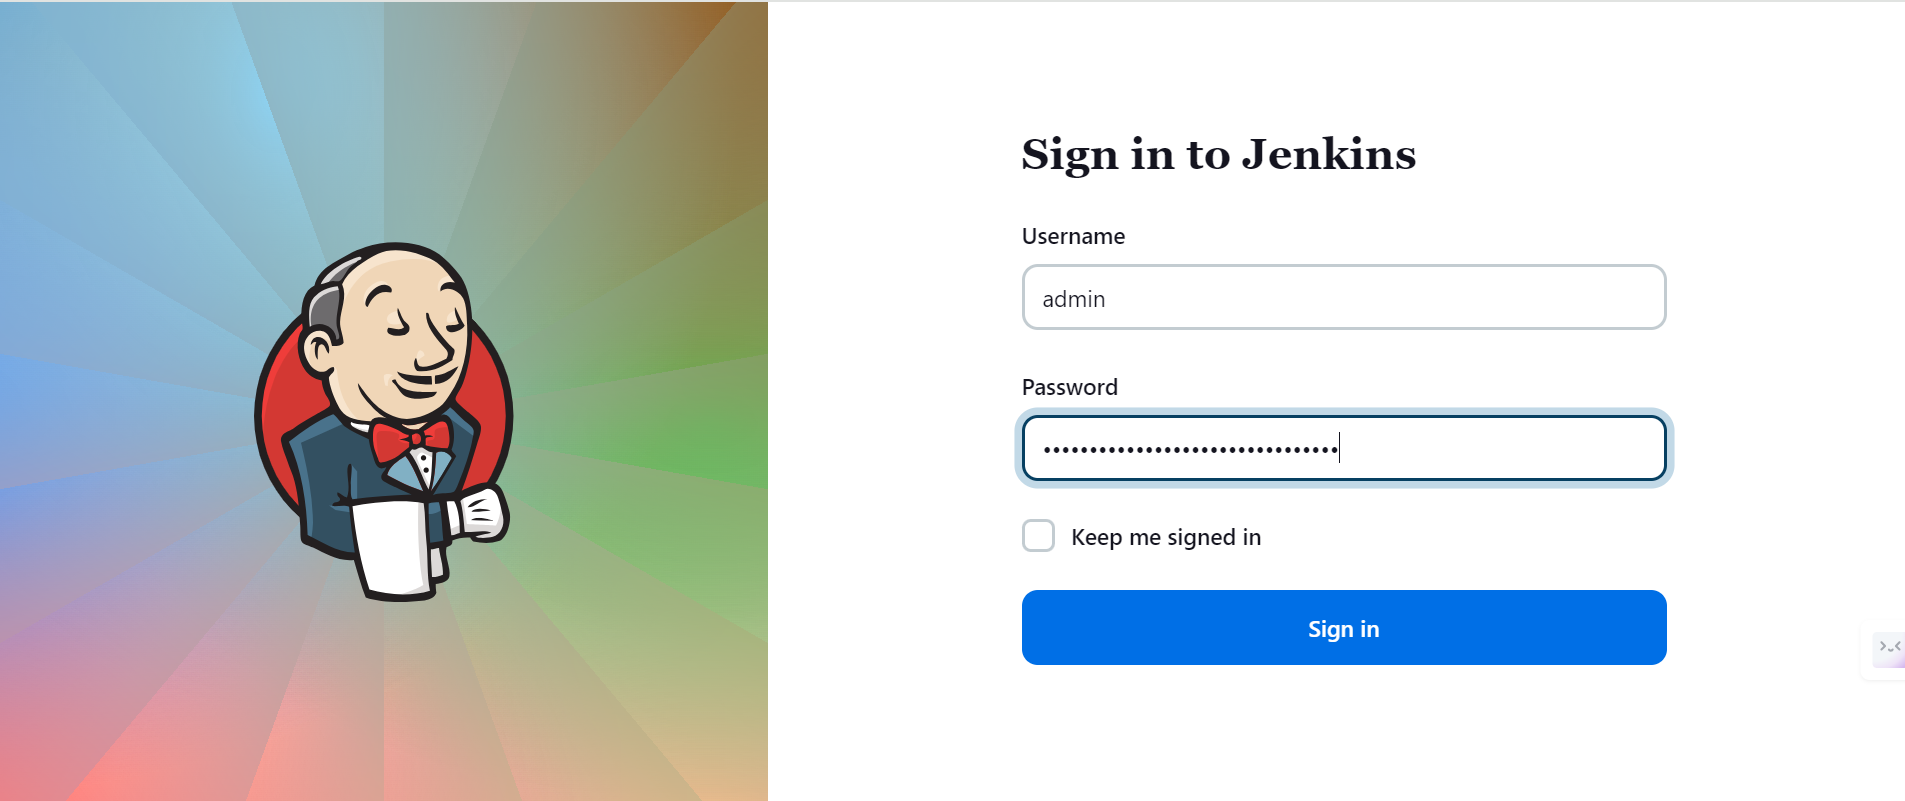
Jenkins Login Page:
- The browser redirects to the Jenkins login page.
Retrieve Jenkins Initial Password:
- On the EC2 instance, use SSH to access Jenkins initial password (located in
/var/lib/jenkins/secrets/initialAdminPassword).
- On the EC2 instance, use SSH to access Jenkins initial password (located in
Login to Jenkins:
Enter the Jenkins initial password on the login page.
Complete the setup wizard by following on-screen instructions.
Access Jenkins Dashboard:
- After successful login, explore the Jenkins dashboard.
sudo cat /var/lib/jenkins/secrets/initialAdminPassword
Log in to Jenkins:
Open your web browser and enter the Jenkins URL (e.g.,
http://your-ipv4-public-ip:8080).Log in using the credentials you set during the Jenkins installation.
Jenkins Dashboard:
- After successful login, you'll be directed to the Jenkins dashboard.
Create a New Job:
- Click on the "New Item" or "Create a job" link. This is usually located on the left-hand side of the Jenkins dashboard.
Enter Job Details:
Provide a name for your job.
Select the type of job you want to create (e.g., Freestyle project, Pipeline).
Click "OK" or "Save" to proceed.
Configure Job:
Configure the job settings based on your project requirements.
Set up source code management, build triggers, and other parameters.
Build Steps:
If it's a Freestyle project, configure build steps (e.g., executing shell commands, running a script).
For a Pipeline project, define the pipeline script.
Save Job Configuration:
- Click "Save" or "Apply" to save the job configuration.
Build Job:
Return to the Jenkins dashboard.
Find your newly created job and click on it.
Click "Build Now" to initiate the first build.
These steps provide a general guide to creating a job in Jenkins. Specific details may vary based on your project requirements and Jenkins configuration. If you encounter any issues or have specific questions, feel free to provide more details for further assistance!
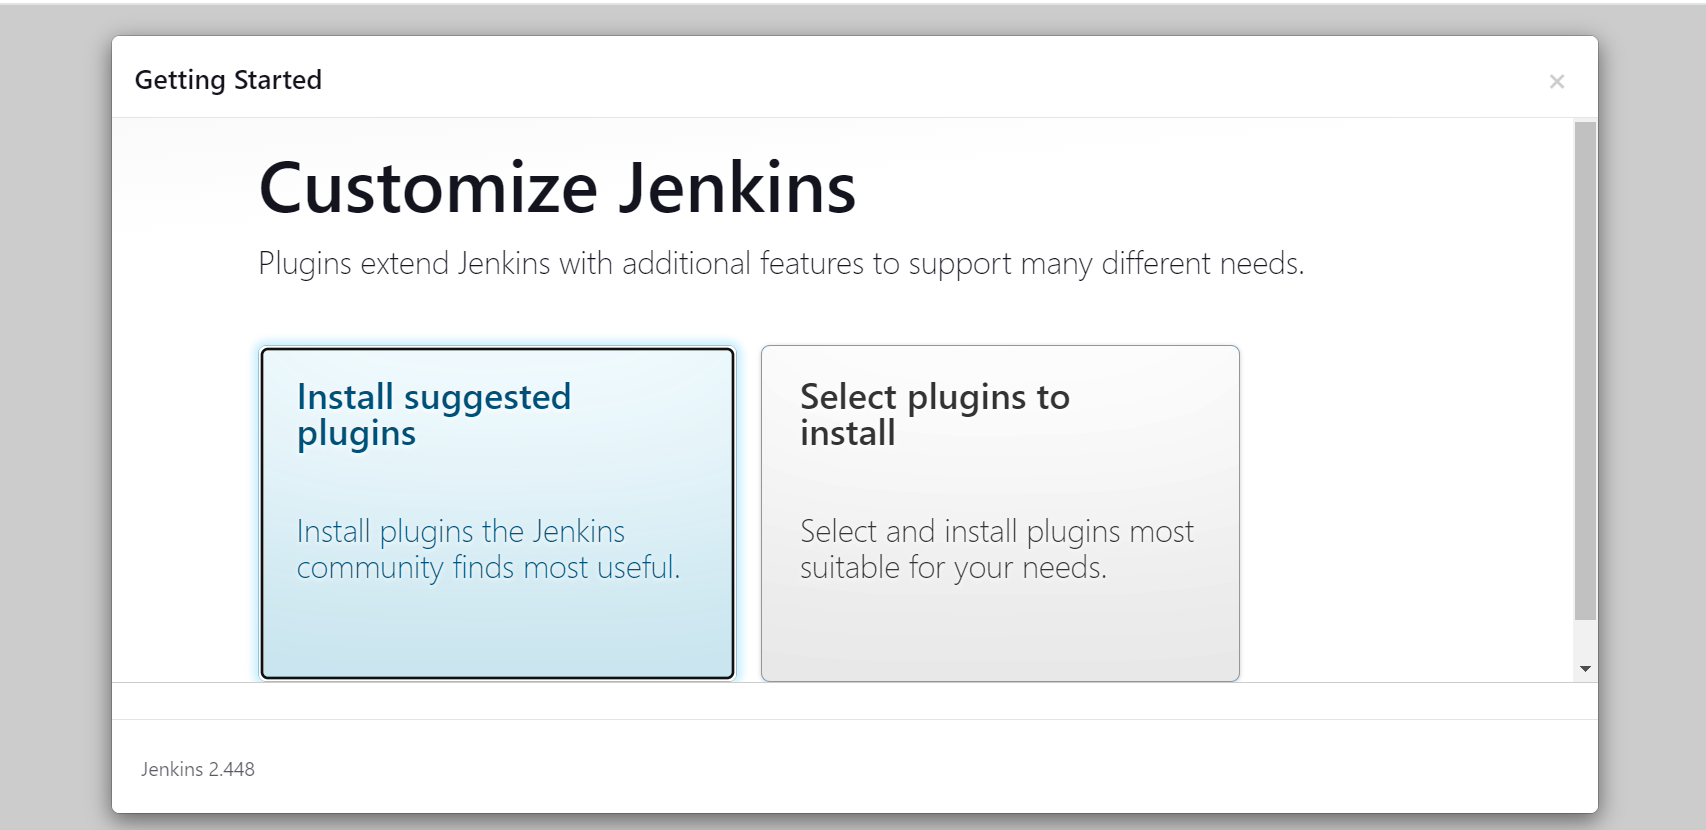
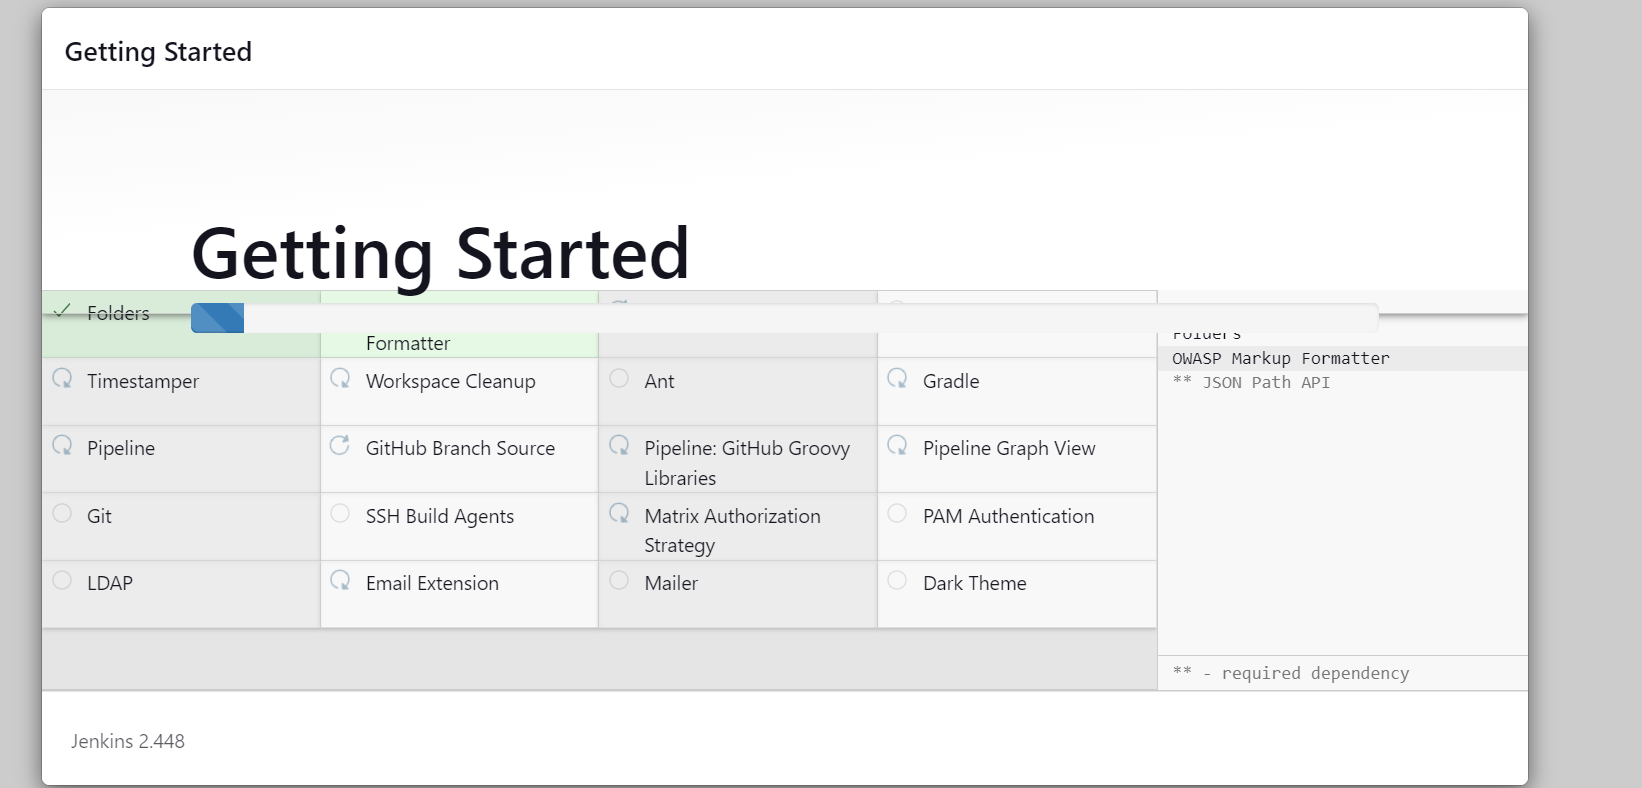
Click on Install suggested plugin
Navigate to Jenkins Dashboard:
- Log in to Jenkins and access the dashboard.
Create a New Job:
- Click on "New Item" or "Create a job."
Enter Job Details:
Provide a name for the job (e.g., "iDevsecops Demo for Node.js").
Choose the type of job (e.g., Freestyle project, Pipeline).
Click "OK" or "Save."
Configure Job:
In the job configuration, locate the "Description" field.
Enter the description: "This is the iDevsecops Demo for Node.js project."
Set Up Source Code Management:
- Under Source Code Management, select "Git."
Enter GitHub Repository URL:
- In the "Repository URL" field, enter the GitHub repository URL.
Configure Additional Settings:
- Set up other parameters such as build triggers, build steps, and post-build actions based on your project requirements.
Save Job Configuration:
- Click "Save" or "Apply" to save the job configuration
Install Docker:
# Update package list
sudo apt-get update
sudo apt-get install docker.io docker-compose -y
sudo usermod -aG docker $USER
sudo usermod -aG docker jenkins
sudo reboot
sudo systemctl enable docker
docker ps
This will help you to install docker and docker-compose
Run SonarQube Docker Container:
Open the terminal.
Execute the command:
docker run -itd --name Sonarqube-server -p 9000:9000 sonarqube:lts-community
Add Port 9000 to Security Group:
Navigate to your security group settings.
Add an inbound rule allowing traffic on port 9000.
Access SonarQube Login Page:
Open a web browser.
Enter the IP address or domain of your server followed by port 9000 (e.g.,
http://your-server-ip:9000).Log in using default credentials:
Username:
adminPassword:
admin
Navigate to Administration:
- Click on the "Administration" tab.
Access Security Settings:
- In the left-hand menu, click on "Security."
Manage Users:
- Click on "Users" under the "Security" section.
Generate Token:
Find and click on the "admin" user.
Navigate to the "Tokens" tab.
Click on the three dots and choose "Generate Tokens."
Configure Token:
Enter a name for the token (e.g.,
jenkins).Set the expiration to 30 days.
Click "Generate."
These steps guide you through running a SonarQube Docker container, accessing the SonarQube login page, navigating to the administration settings, and generating a token for Jenkins integration. Adjust the details based on your specific SonarQube instance and security group settings.
Navigate to Jenkins Dashboard:
- Log in to Jenkins and access the dashboard.
Go to Manage Jenkins:
- Click on "Manage Jenkins" in the left-hand menu.
Access Plugin Manager:
- Select "Manage Plugins" from the options.
Navigate to Available Plugins:
- In the "Available" tab, search for "SonarQube Scanner."
Select SonarQube Scanner Plugin:
- Check the checkbox next to "SonarQube Scanner."
Copy SonarQube Token:
Navigate to the SonarQube server.
Generate a token for Jenkins (as previously instructed).
Copy the generated token.
Configure SonarQube in Jenkins:
Back in Jenkins, go to "Configure System" under "Manage Jenkins."
Scroll down to the "SonarQube servers" section.
Click on "Add SonarQube" to add a new SonarQube server.
Enter a name for the server.
Paste the copied SonarQube token in the "Server authentication token" field.
Install SonarQube Scanner:
In Jenkins, go back to "Manage Jenkins" -> "Manage Plugins."
Navigate to the "Available" tab.
Search for "SonarQube Scanner for Jenkins."
Check the checkbox next to "SonarQube Scanner for Jenkins."
Click "Install without restart."
Verify Installation:
- Confirm the successful installation of the SonarQube Scanner plugin.
These steps guide you through integrating SonarQube with Jenkins by installing the required plugins and configuring the SonarQube server. Adjust the details based on your specific Jenkins configuration and plugin versions.
In our exciting journey towards building a robust CI/CD pipeline, we've set up Jenkins for automation, Docker for containerization, and SonarQube for code quality analysis. 🚀 But hold on, our toolbelt isn't complete yet! 🧰 As we look to the future and anticipate the next phase of our DevOps adventure, we've got some powerful tools waiting in the wings. From Java Development Kit (JDK) to enhance our Java applications, to Trivy for vulnerability scanning, and the Open Web Application Security Project (OWASP) for security insights, our tool arsenal is expanding. 👷♂️🔍 Each tool brings a unique strength to our ecosystem, ensuring a comprehensive and secure development process. Stay tuned for our next blog, where we'll dive into these tools, explore their functionalities, and continue shaping our DevOps landscape! 🌐🛠️


