Day 31 Task: Launching your First Kubernetes Cluster with Nginx running
Index

| Introduction to Minikube |
| Getting Started with Minikube |
| Exploring Minikube Features |
| Advanced Minikube Features |
| Hands-On with Minikube |
─── ⋆⋅☆⋅⋆ ──Introduction─── ⋆⋅☆⋅⋆ ──
Hello everyone! 🌟 Welcome to day 31 of the 90DaysOfDevOps challenge! Today, we're diving into the world of Minikube 🚀, a tool that simplifies Kubernetes cluster setup on our local machines. We'll also be launching our first Kubernetes cluster with Nginx running. Let's dive in and get started! 💻🎉
─── ⋆⋅☆⋅⋆ ──Introduction to Minikube─── ⋆⋅☆⋅⋆ ──
What Is Minikube?
Minikube is a tool that sets up a Kubernetes environment on a local PC or laptop. It’s technically a Kubernetes distribution, but because it addresses a different type of use case than most other distributions (like Rancher, OpenShift, and EKS), it’s more common to hear folks refer to it as a tool rather than a distribution.
Minikube supports all of the major operating systems – Windows, Linux, and macOS. (It doesn’t run on mobile devices, alas.)
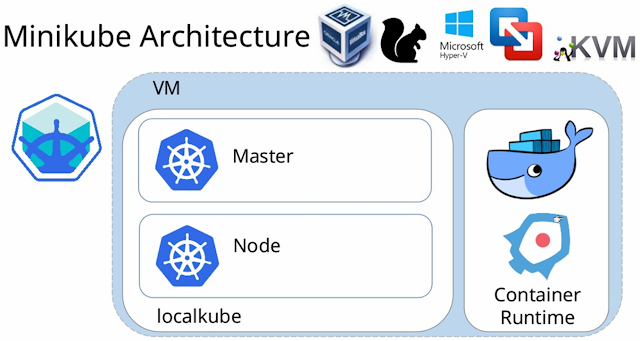
How Does Minikube Work?
Minikube simplifies Kubernetes cluster setup by creating a local cluster on your machine. It typically sets up a single-node cluster, but you can configure it for multi-node clusters if needed.
Minikube supports different deployment modes called "drivers." The driver you choose determines how the Kubernetes node runs:
Hyper-V VMs for Windows
Container-based deployment for flexibility
Bare metal for optimal performance on Linux
The choice of driver depends on your performance and isolation requirements. Bare metal offers the best performance, container deployment balances performance and isolation, while VM deployment provides rigid isolation from the host system.
─── ⋆⋅☆⋅⋆ ──Getting Started with Minikube─── ⋆⋅☆⋅⋆ ──
Installing on Linux
On most Linux systems, you can install Minikube with:
curl -LO https://storage.googleapis.com/minikube/releases/latest/minikube-linux-amd64
sudo install minikube-linux-amd64 /usr/local/bin/minikubeCode language: JavaScript (javascript)
Most major Linux distributions also offer RPM or Debian packages for installing Minikube.
How Do You Use Minikube?
Once Minikube is installed, start it with the following simple command:
minikube start
You can then interact with your cluster using standard kubectl commands prefixed with the minikube command. For example:
minikube kubectl cluster-info
Alternatively, you can SSH into the Minikube node and run kubectl directly from there.
The Minikube Dashboard
Like most distributions, Minikube supports the native Web-based Kubernetes dashboard, but it’s not enabled by default. To enable the dashboard, run:
minikube dashboard
This command will also open a page in your default Web browser showing the Kubernetes dashboard.
Managing Ingress for Minikube
By default, Minikube doesn’t provide an ingress controller. For basic experimentation with Kubernetes features, ingress isn’t really necessary; you can use Minikube to practice things like creating pods without having ingress set up.
However, ingress becomes necessary in most cases if you want to test how real-world applications might behave, because ingress helps you simulate the networking conditions that those applications would experience when running in a production cluster.
Fortunately, Minikube provides addons that make it easy to install an ingress controller. You can do this with a simple command:
minikube addons enable ingress
This creates an NGINX-based ingress controller for your Minikube environment.
Minikube doesn’t support complex ingress configurations. You’ll need a full-fledged complex Kubernetes distribution for testing advanced networking setups. But for basic application testing, Minikube and its NGINX ingress addon should suffice.
Multi-Node Minikube
As noted above, Minikube runs a single-node Kubernetes cluster by default. If you want to experiment with managing multiple nodes inside Kubernetes, you may wish to set up a multi-node cluster instead.
You can do this easily enough by using the –nodes flag when you start Minikube. For example, to create a cluster with two nodes, run:
minikube start --nodes 2 -p multinode-demo
─── ⋆⋅☆⋅⋆ ──Explore Minikube's key features:─── ⋆⋅☆⋅⋆ ──
Supported Kubernetes Versions: Keep up with the latest Kubernetes releases.
Cross-Platform Compatibility: Works seamlessly on Linux, macOS, and Windows.
Flexible Deployment: Choose from various deployment options like VMs, containers, or bare metal.
Multiple Runtimes: Support for Docker, containerd, and CRI-O.
Direct API Endpoint: Interact efficiently with the Kubernetes API.
Advanced Features: LoadBalancer, filesystem mounts, FeatureGates, and network policy support.
Addons: Easily enable addons for common Kubernetes applications.
CI Compatibility: Integrate with popular CI environments.
─── ⋆⋅☆⋅⋆ ── Advanced features offered by Minikube:─── ⋆⋅☆⋅⋆ ──
LoadBalancer Support: Minikube provides support for LoadBalancer services, allowing you to expose your applications externally and access them from outside the cluster.
Filesystem Mounts: Minikube allows you to mount local directories or files into your Minikube cluster, enabling seamless data sharing between your host machine and the cluster.
FeatureGates: FeatureGates enable experimental or alpha features in Kubernetes. Minikube allows you to enable or disable specific FeatureGates to test new Kubernetes features.
Network Policy Support: Minikube supports Kubernetes Network Policies, which allow you to control traffic between different pods and enforce security policies within your cluster.
These advanced features provide greater flexibility and control when working with Minikube, allowing you to experiment with advanced Kubernetes functionality in your local environment.
─── ⋆⋅☆⋅⋆ ──Hands-On with Minikube─── ⋆⋅☆⋅⋆ ──
Install minikube on your local
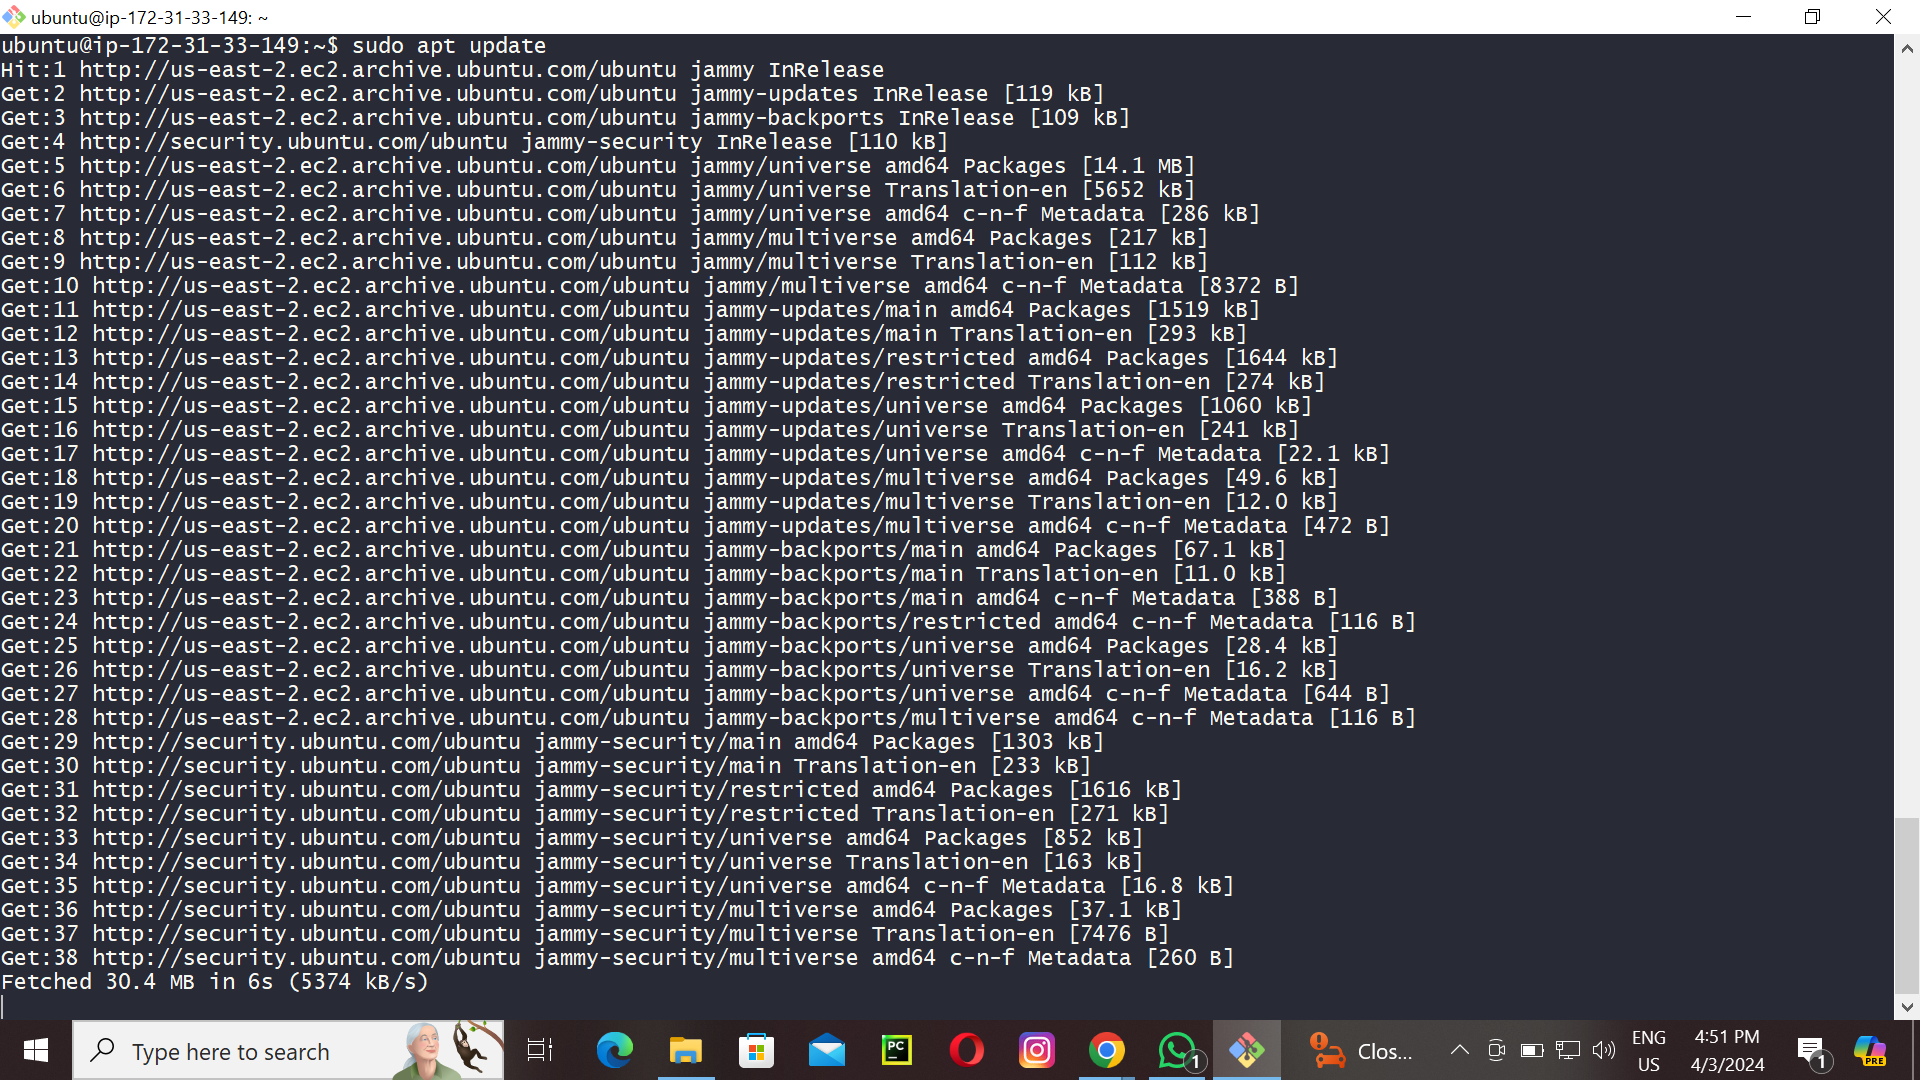
Step 1: Update System Packages
Update your package lists to make sure you are getting the latest version and dependencies.
sudo apt update
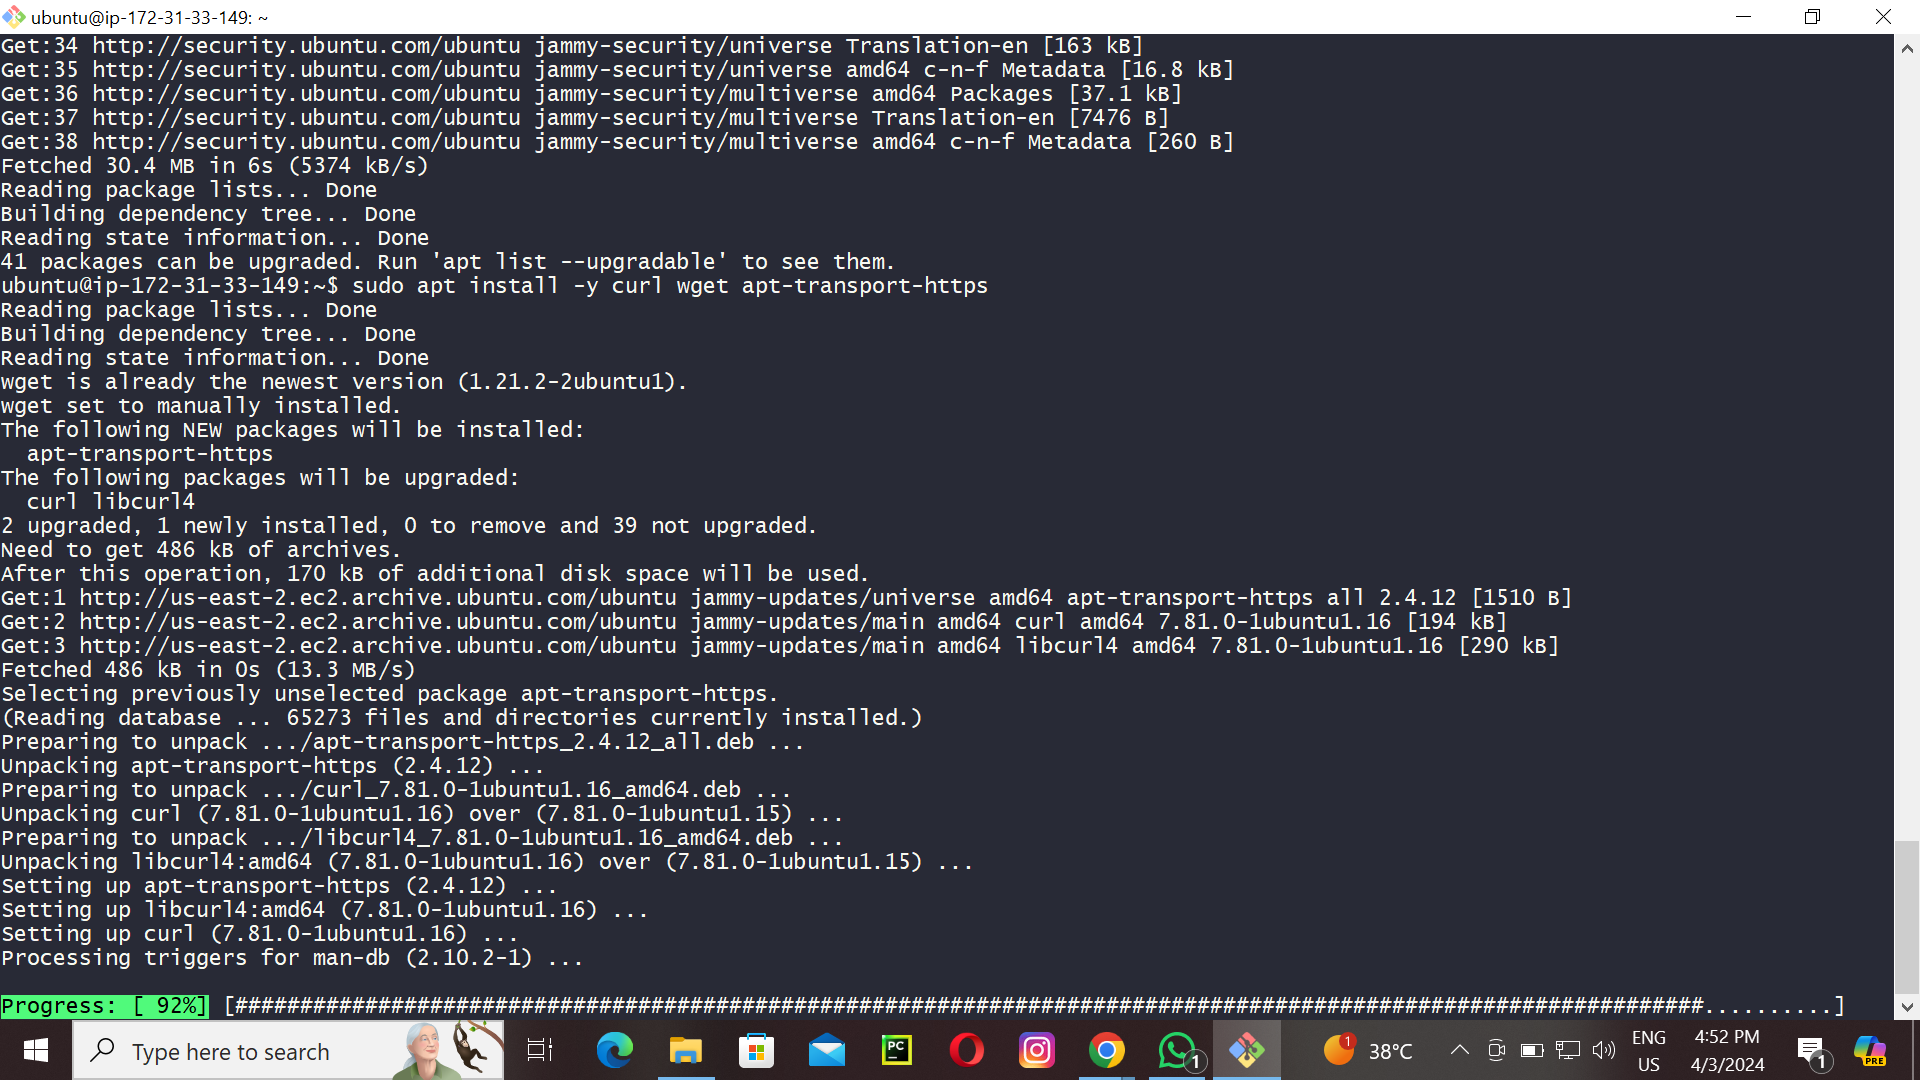
Step 2: Install Required Packages
Install some basic required packages.
sudo apt install -y curl wget apt-transport-https
Step 3: Install Docker
Minikube can run a Kubernetes cluster either in a VM or locally via Docker. This guide demonstrates the Docker method.
sudo apt install -y docker.io
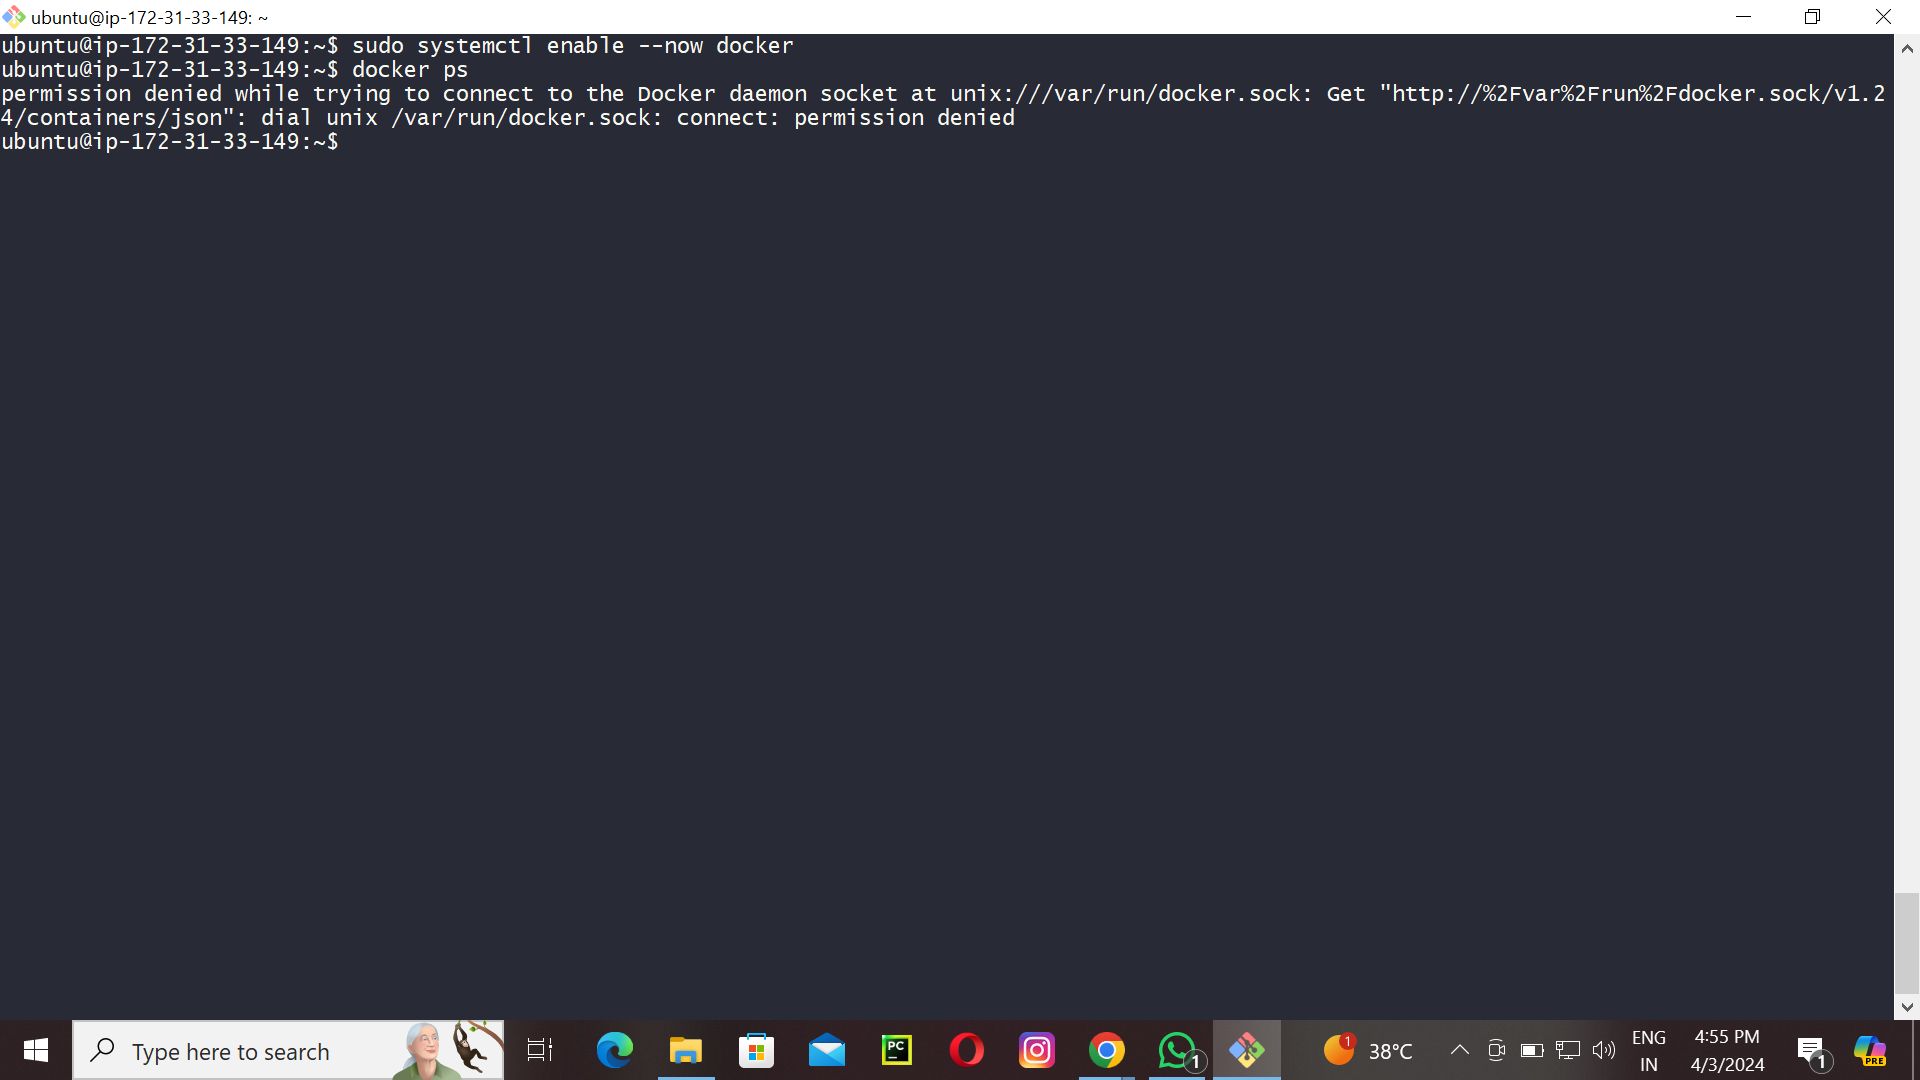
Start and enable Docker.
sudo systemctl enable --now docker
Add current user to docker group (To use docker without root)
sudo usermod -aG docker $USER && newgrp docker
Now, logout (use exit command) and connect again.

Step 4: Install Minikube
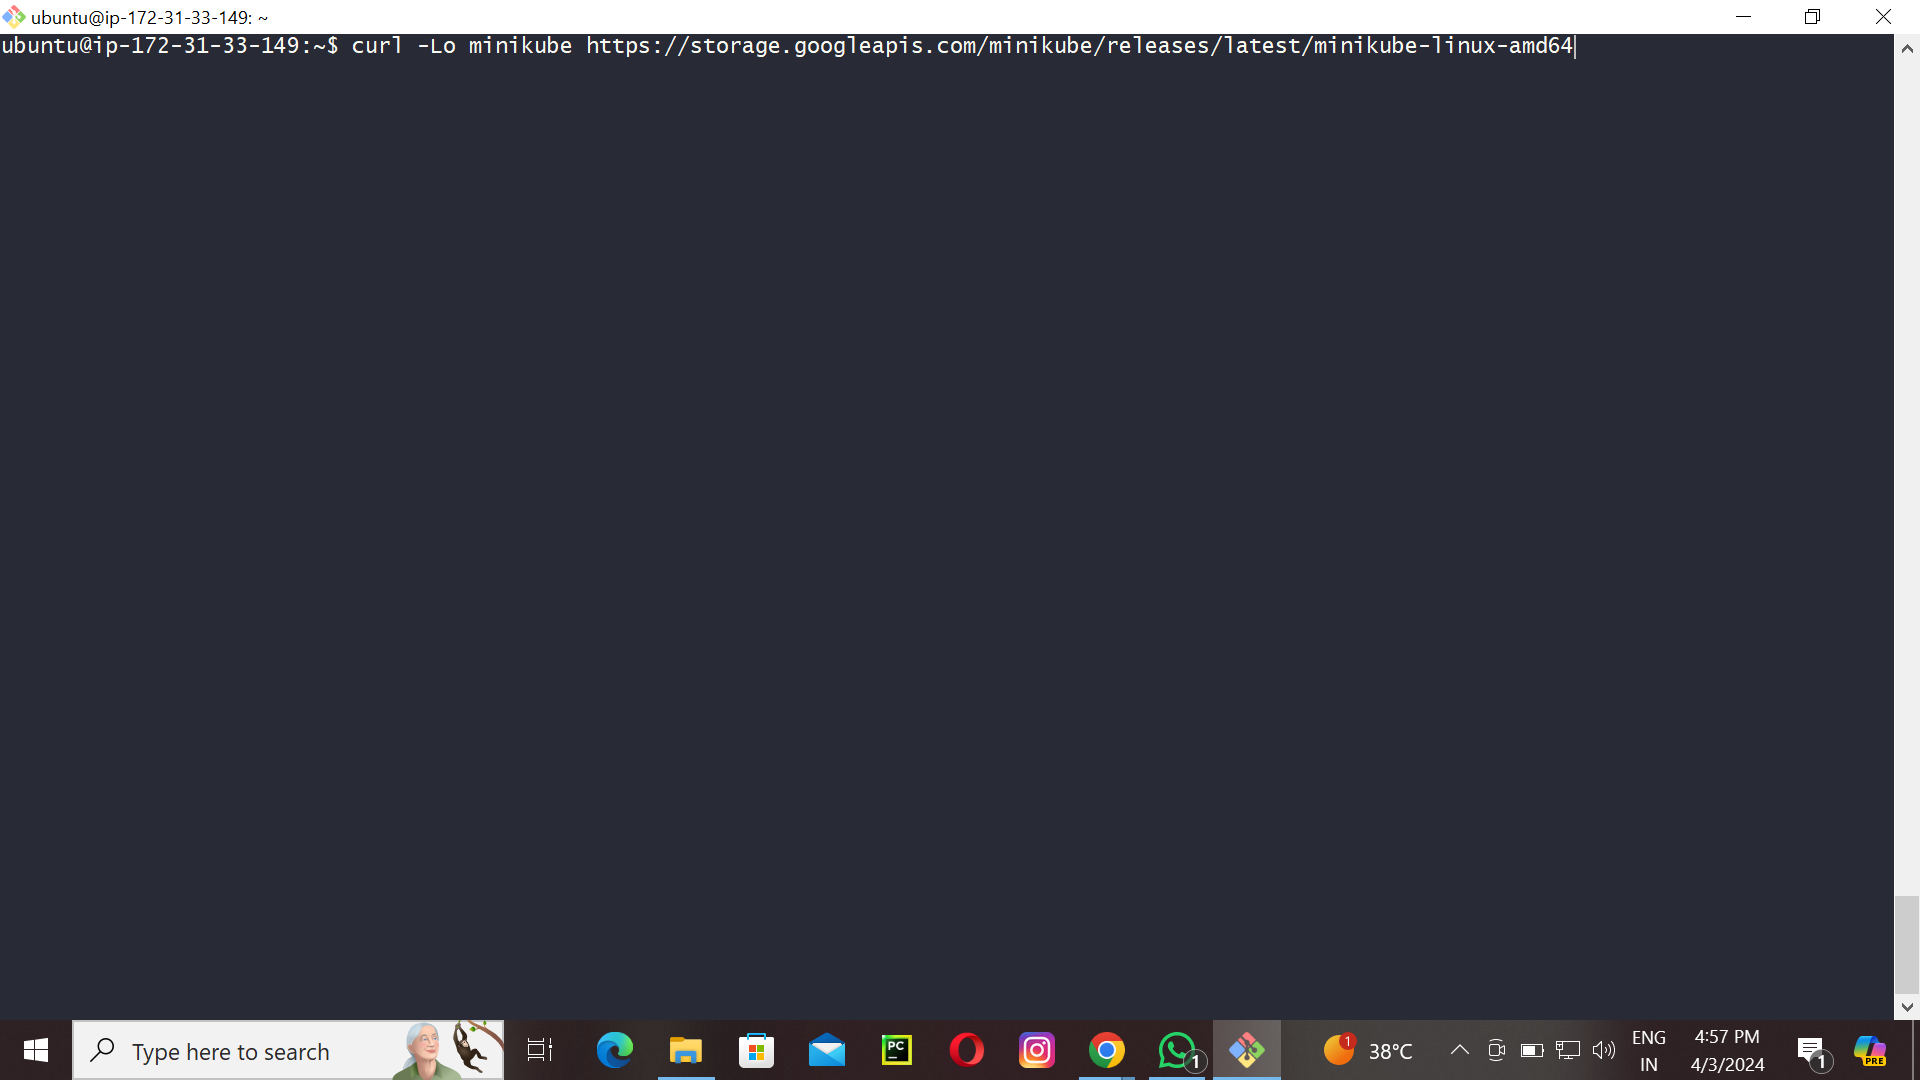
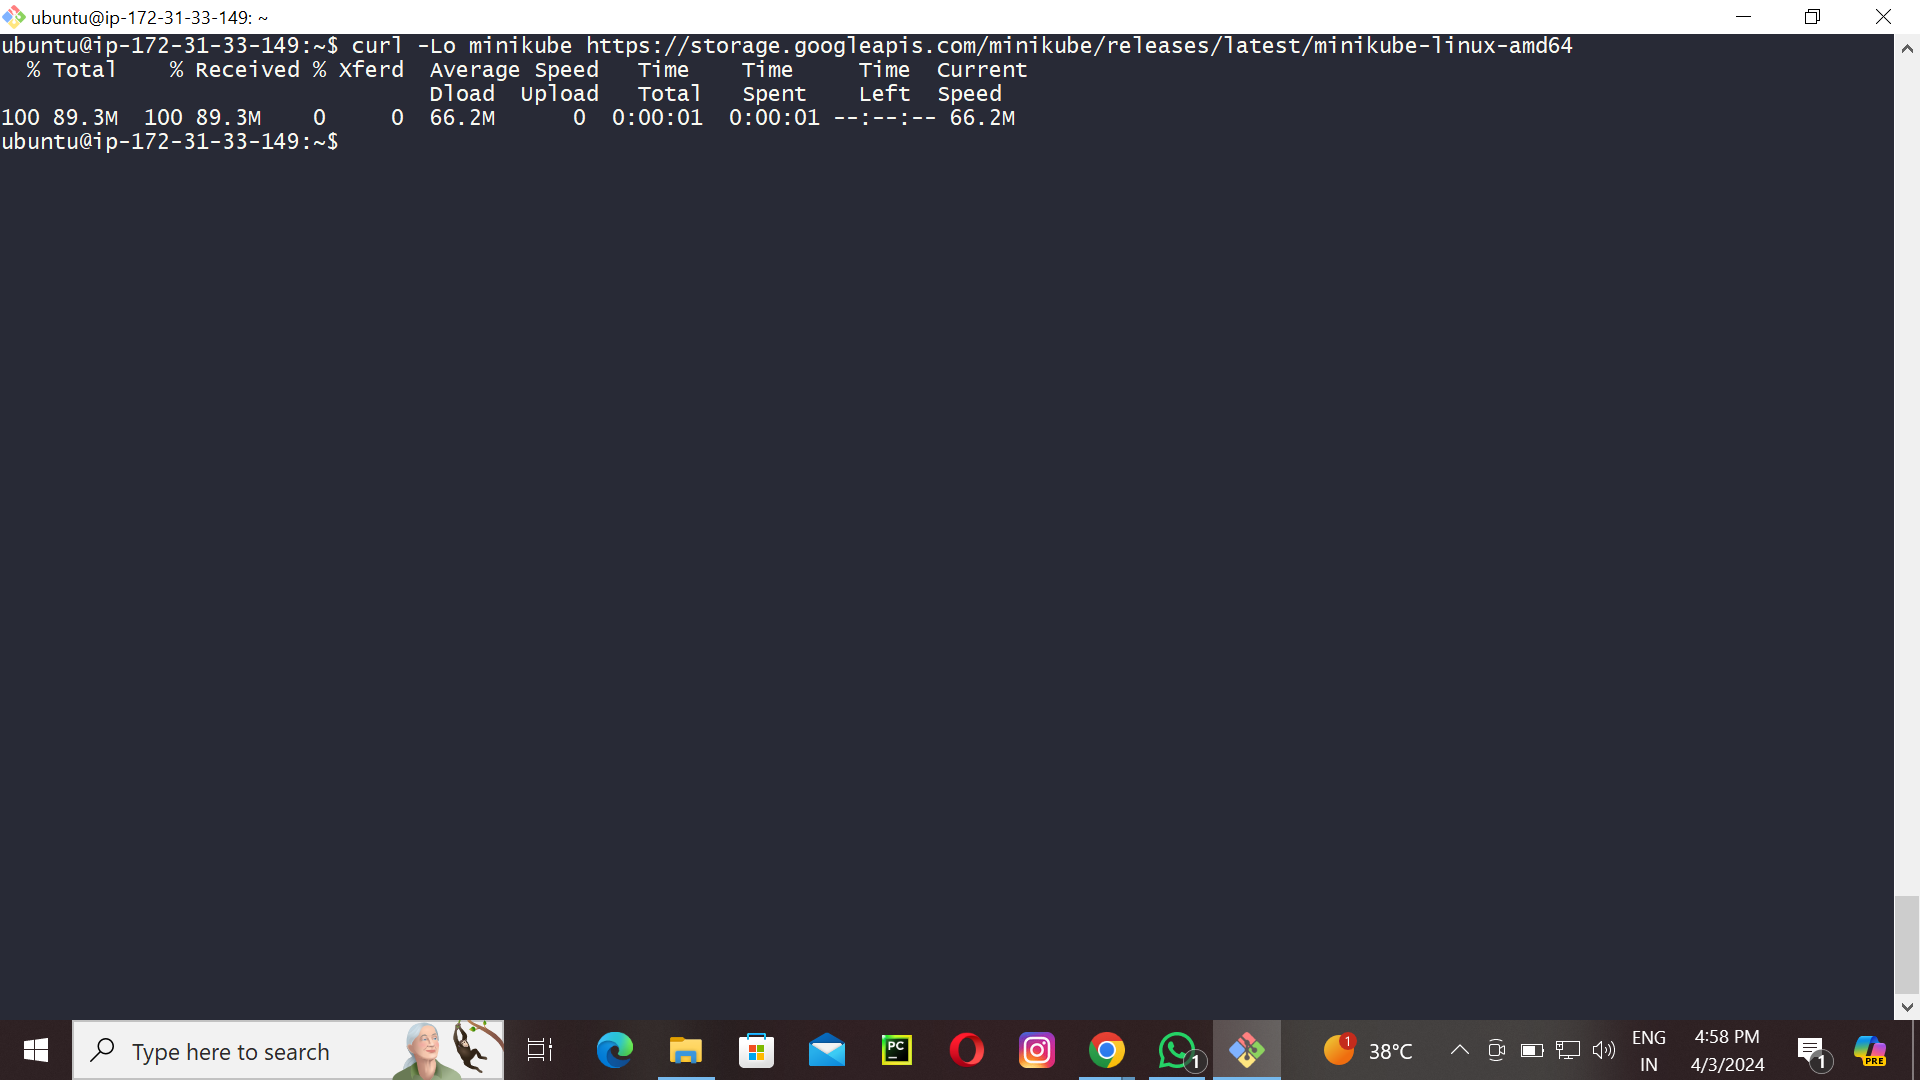
First, download the Minikube binary using curl:
curl -Lo minikube https://storage.googleapis.com/minikube/releases/latest/minikube-linux-amd64
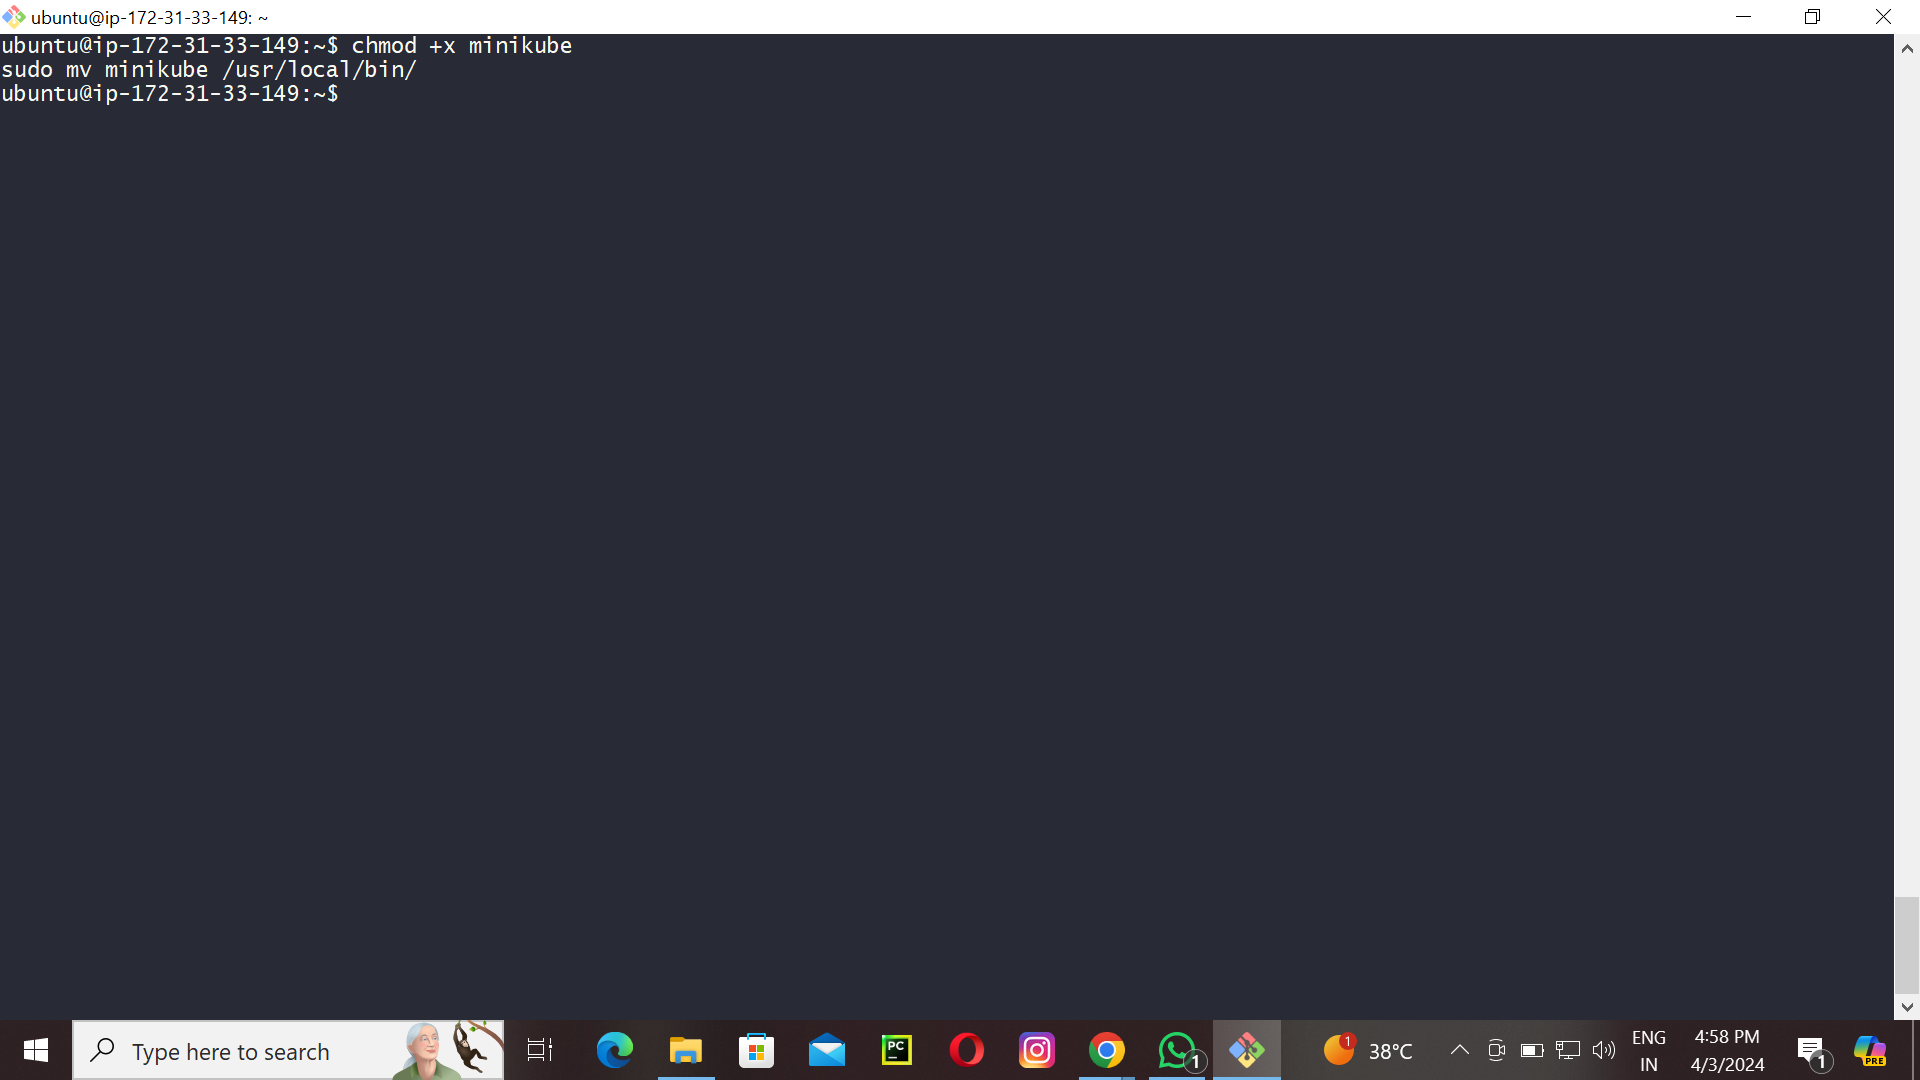
Make it executable and move it into your path:
chmod +x minikube
sudo mv minikube /usr/local/bin/
Step 5: Install kubectl
Download kubectl, which is a Kubernetes command-line tool.
curl -LO "https://dl.k8s.io/release/$(curl -L -s https://dl.k8s.io/release/stable.txt)/bin/linux/amd64/kubectl"
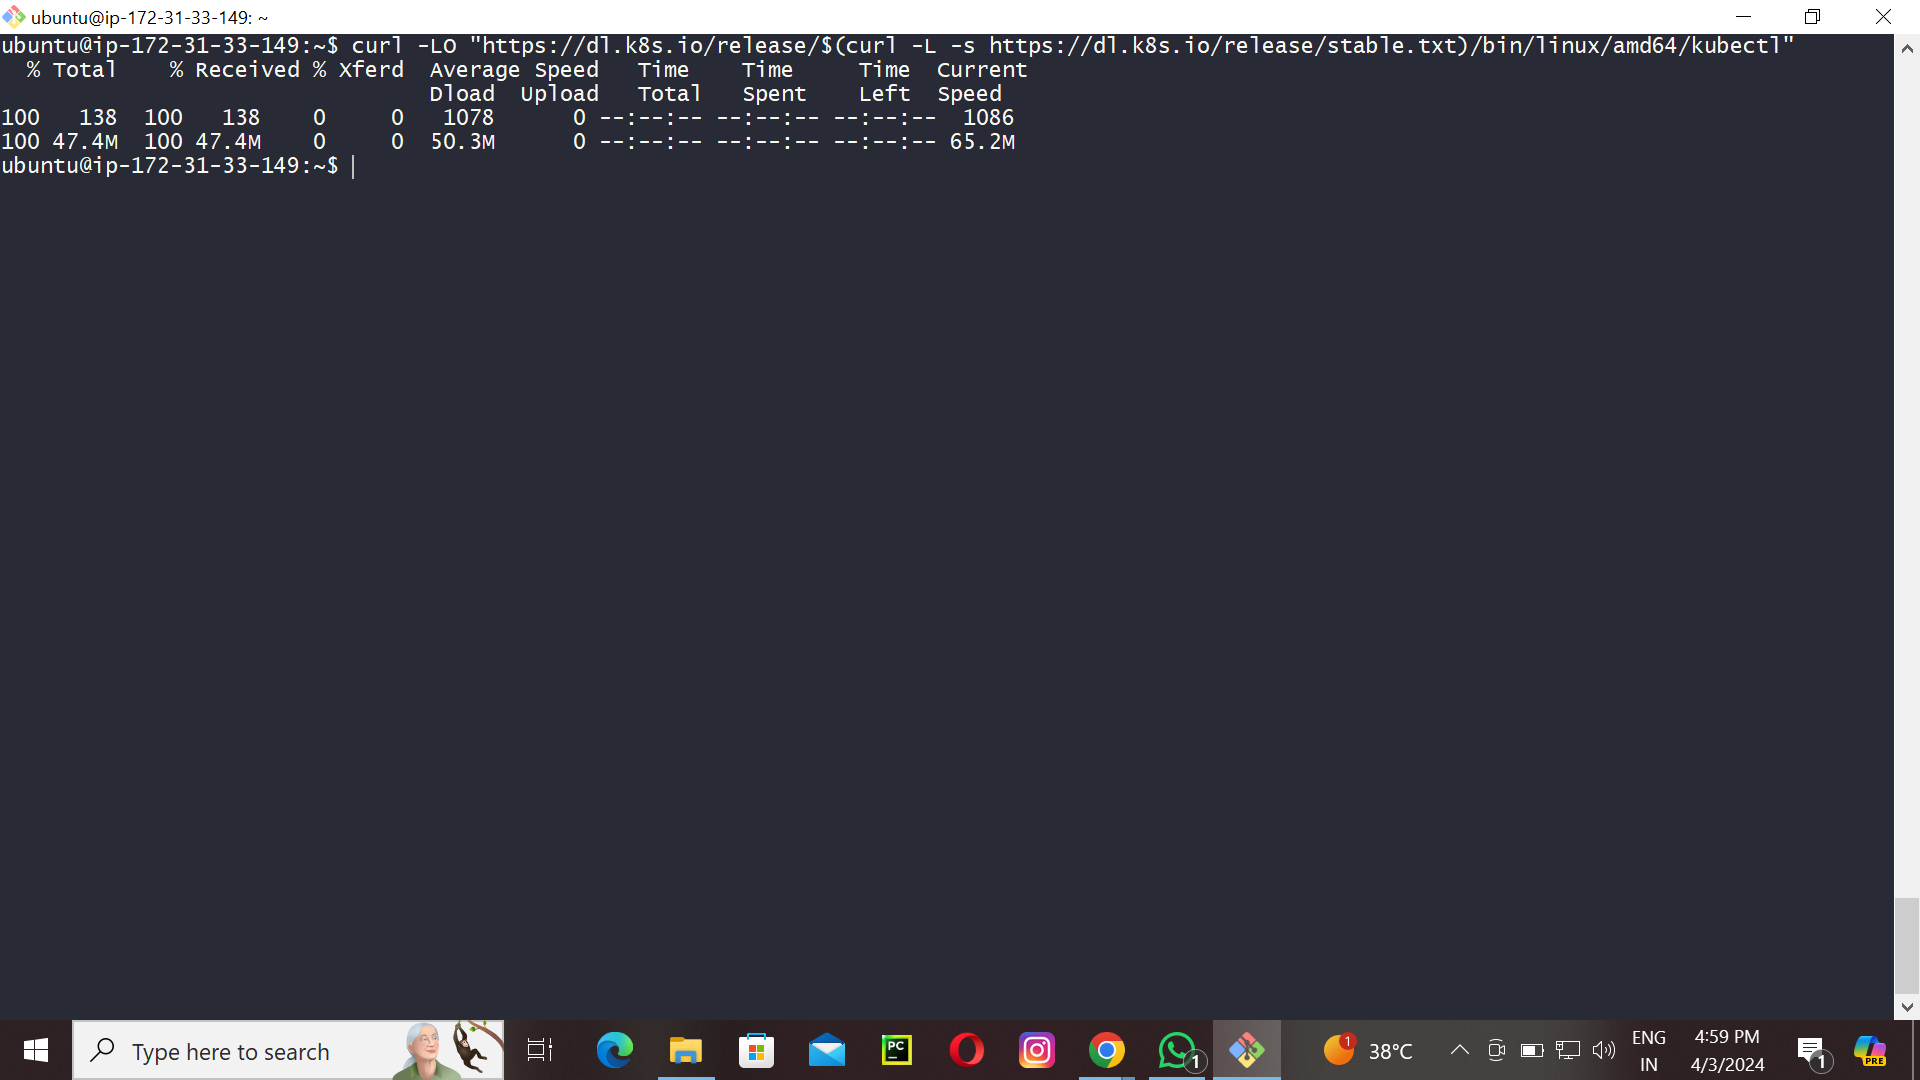
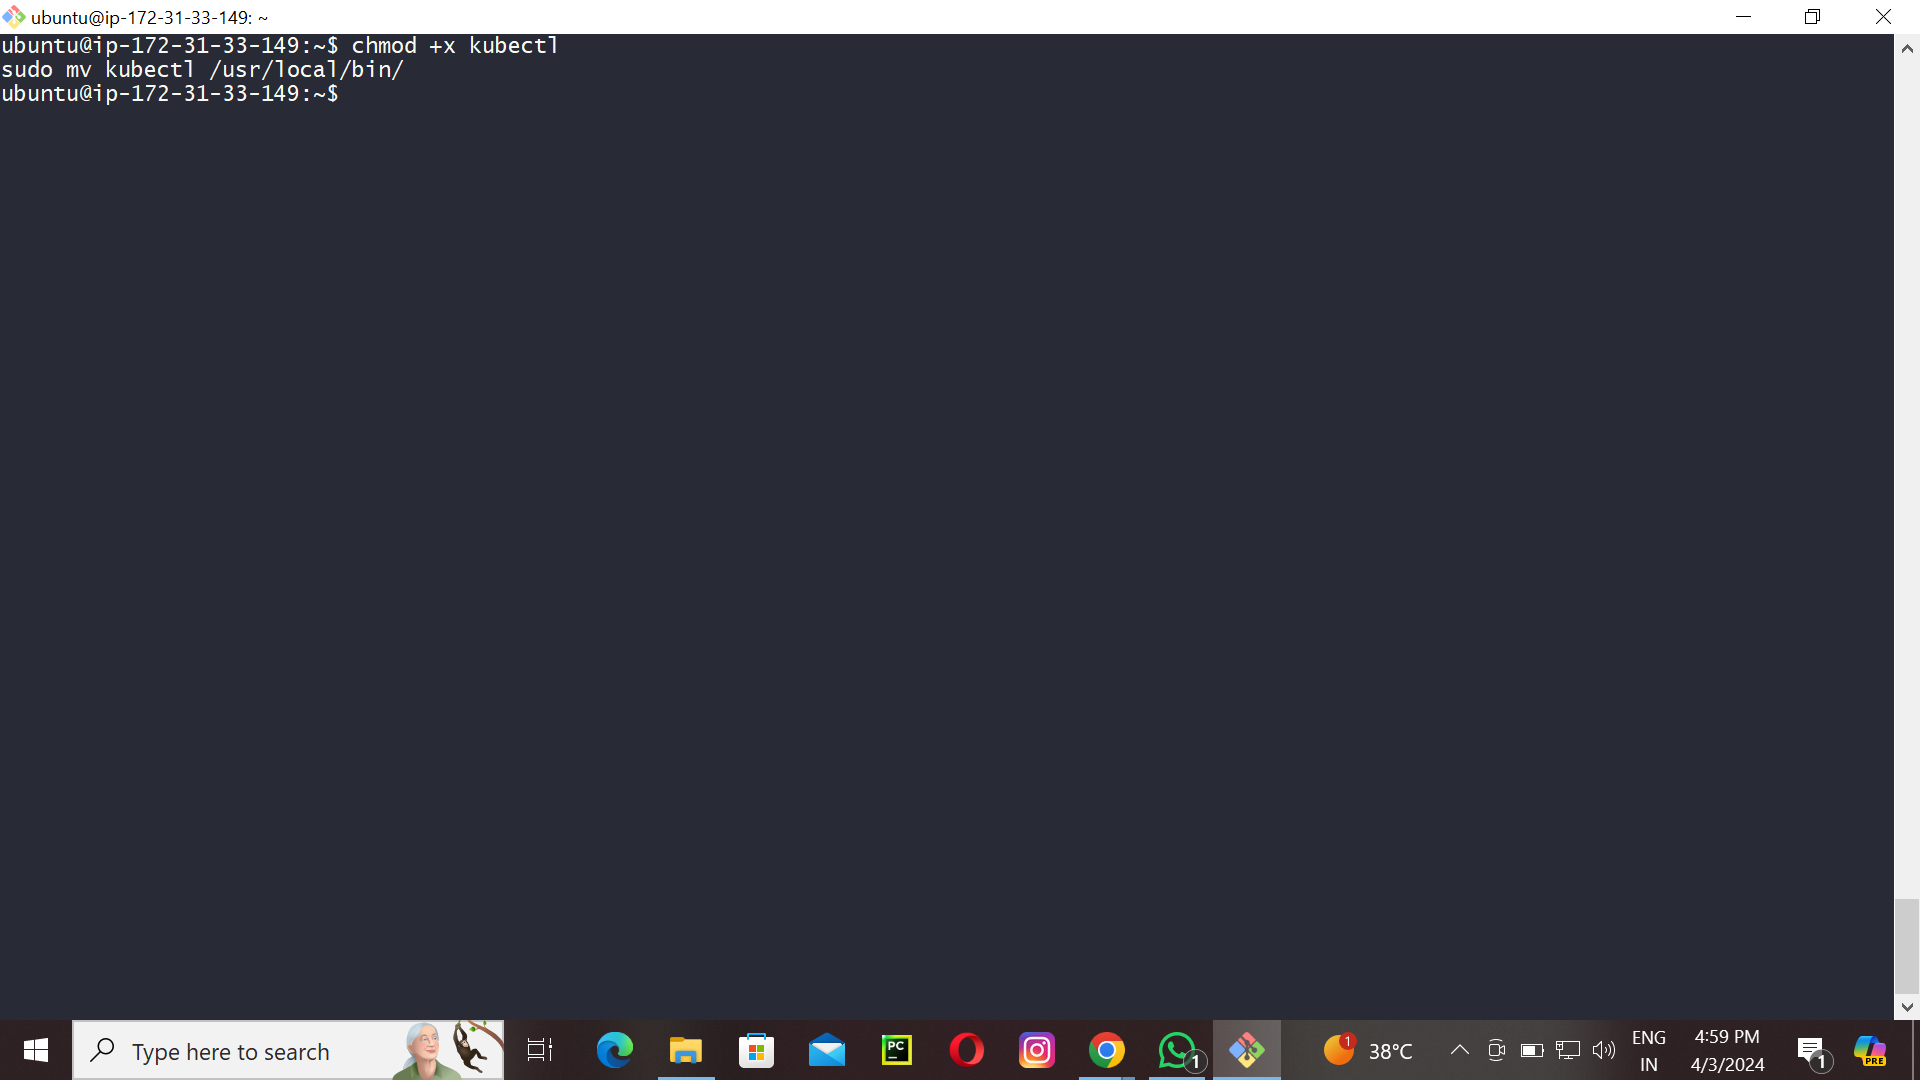
Check above image ⬆️ Make it executable and move it into your path:
chmod +x kubectl
sudo mv kubectl /usr/local/bin/
Step 6: Start Minikube
Now, you can start Minikube with the following command:
minikube start --driver=docker
This command will start a single-node Kubernetes cluster inside a Docker container.
Step 7: Check Cluster Status
Check the cluster status with:
minikube status
You can also use kubectl to interact with your cluster:
kubectl get nodes
Step 8: Stop Minikube
When you are done, you can stop the Minikube cluster with:
minikube stop
Optional: Delete Minikube Cluster
If you wish to delete the Minikube cluster entirely, you can do so with:
minikube delete
That's it! You've successfully installed Minikube on Ubuntu, and you can now start deploying Kubernetes applications for development and testing.
Conclusion
Today, on day 31 of our 90DaysOfDevOps journey, we successfully completed our hands-on session with Minikube! 🎉 We explored the basics of Minikube, including installation, starting the cluster, deploying applications, and exploring Kubernetes resources. It was an exciting opportunity to dive into the world of Kubernetes in a practical and hands-on manner. Let's keep up the momentum as we continue to learn and grow in the world of DevOps! 💪🚀
😎🥰🥰Thanks for reading keep supporting dosto😎🥰🥰
###


